Car screens - dashboard fitment
A customer sent me a photo last month of a screen he'd just fitted. The map was sharp, the radio worked, and the top right corner of the plastic frame stood a couple of millimetres proud of the dash with a dark line of shadow under it. He'd bought the frame and the unit from different sellers, and neither part was faulty: the panel was moulded for another version of the same dashboard, and no amount of tightening would close that line. Annoying, and common.
Three things decide whether a retrofit looks factory or looks fitted: the shape of the aperture, the moulded panel that dresses it, and the brackets that set how deep the unit sits. Get all three right and the seam disappears. Get one wrong and you can turn screws all afternoon without moving the line.
A fascia - dash kit, frame, panel, the word changes with the seller - is a moulded plastic part bridging two rectangles. The outer edge follows a curve the carmaker drew; the inner opening matches a standard slot and the bezel of the unit you're fitting. Your screen can't fix a mismatch there: it sits inside the panel, not behind the seam. I've found that mistake costs people a second kit.
The inner rectangle does have a standard behind it. ISO 7736 sets the head unit aperture at 180 mm wide, in two heights: 50 mm for single DIN, 100 mm for double DIN. That's why your 2-DIN unit drops into a kit from another brand, in Europe or anywhere else. The slot is the easy part. What the standard doesn't describe is the outer edge, the grain, the clips, or which of two dashboards your car was built with.
People mix it up with ISO 10487, which covers the wiring connectors in blocks A, B and C. Neither document covers the part you're shopping for, and that's why gaps happen: a frame is vehicle-specific tooling. You order it by part number, not by standard.
What I see on cars that arrive with a gap is rarely a faulty screen. It's the wrong panel variant, a bracket set at the wrong depth, or a corner pulled down by a screw - all three fixable, and all three cheaper to check before the box is open.
Measure at the aperture, never at the old radio's faceplate. A factory radio often carries a wider cosmetic bezel than the hole behind it, so what you see and what the kit has to fill aren't the same thing. Photograph the hole, not the radio.
| What you are fitting | Aperture it assumes | What closes the gap |
|---|---|---|
| Single DIN unit | 180 x 50 mm | A panel with a storage pocket below the slot |
| Double DIN unit | 180 x 100 mm | A full fascia around both slot heights |
| Floating screen | No DIN slot, bracket behind the dash | A trim ring around the screen bezel |
Read the third row twice if you're shopping for a 9 or 10.1 inch panel. Your screen doesn't live in a slot; it stands on a bracket, and the plastic around it is a ring, not a fascia. A ring 2 mm too narrow shows as a bright line down one side. It's silly, and it isn't the screen's fault.
Here's the part listings hide: your model year can leave the factory with two dashboards, one for a base radio and one for the factory navigation unit, with a different climate panel between them. Two part numbers, two outer edges, and photos of cars that look identical. How do I know which one my car has? Take a square-on photo of the aperture and note whether your climate controls are knobs, buttons or a touch strip. That's usually enough for us to name the right kit; I've seen worse photos do the job.
Can I put a double DIN unit into a single DIN hole? Sometimes, if your dash has a storage pocket below your radio and the kit replaces both, which is common on older designs. It isn't universal: the pocket comes out, a rear support often moves, and some dashes have no depth behind the lower slot. Ask before you pay.
You can judge a fit before you plug anything in, and it costs nothing. Four checks will tell you whether the panel belongs on your car. Do them in order.
A standard bank card is 0.76 mm thick, which makes it a free feeler gauge. If it slides into one corner and not another, your panel is sitting crooked, not evenly loose.
Hold your phone level with the seam and shoot straight at it. Angled photos exaggerate the top gap and hide the bottom one.
Grain and colour mismatch vanish under a fluorescent tube and reappear in a car park. Walk it outside first.
Push your panel home by hand, pull it off, and look at the clips. Rub marks on two clips and nothing on the others mean it's fighting the dash.
Why does the top corner sit proud when the bottom is tight? Usually the panel is held off its seat by something behind it: a bundle of wiring, a bracket tab, or the unit's chassis pressing on the back. Nothing you do at the front fixes that, and it's not a panel problem.
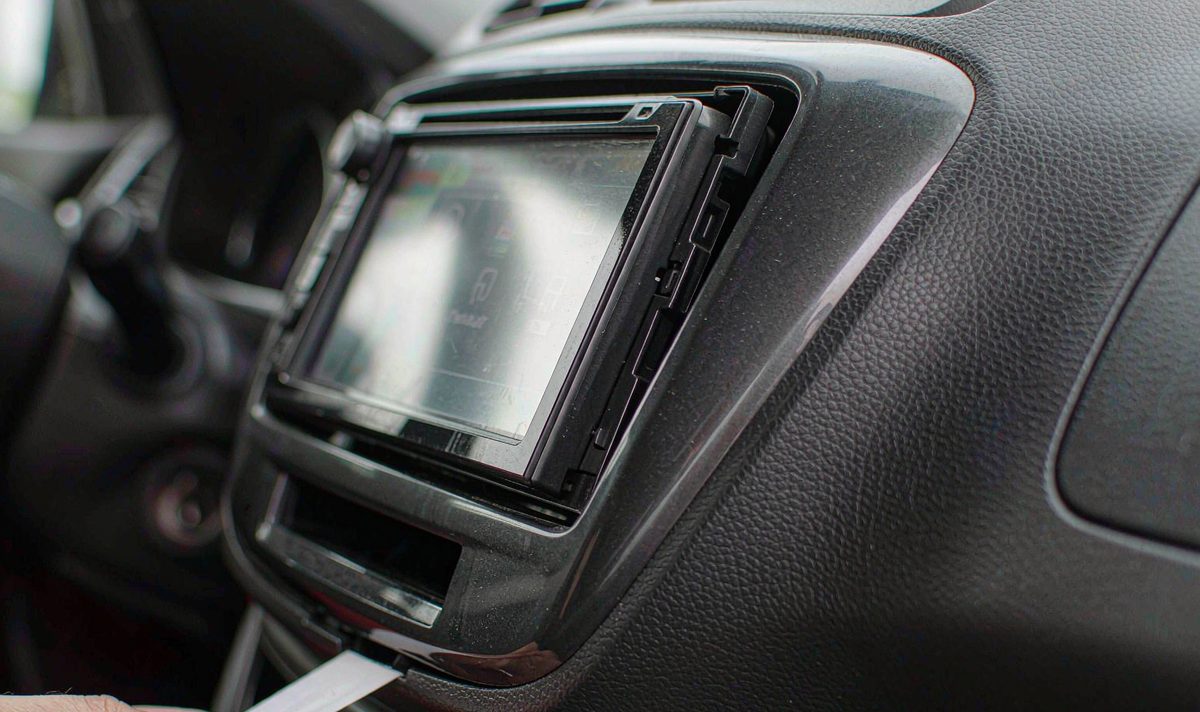
The panel is what you see, but the brackets decide where it lands. Two families: ISO side brackets bolted to the unit's threaded sides, and vehicle-specific brackets that replace the factory radio's mounting ears. Mix them and you'll get a unit that sits too deep or too shallow.
Over-tightening is the usual suspect. These panels are thin-walled ABS, and a screw driven hard into a plastic boss bows your panel at the opposite corner. Bring them down in a cross pattern and stop when the plastic stops moving. You'll feel it.
Clips are the other half. Factory clips are built for a specific insertion force; aftermarket clip towers are often the weakest part of a cheap kit, and a cracked tower shows up later as a rattle rather than a gap. A thin foam gasket takes up a fraction of a millimetre of moulding tolerance and stops the plastic-on-plastic squeak that's maddening on a rough road.
Then the wiring that has to live behind the panel. If your kit relocates the hazard switch or the climate panel, the extra loom has to go somewhere, and a bundle folded back on itself is exactly what holds your corner off its seat. A proper android car stereo wiring harness adapter earns its place here: correct lengths, correct plugs, nothing to cut. Where the climate readout lives in the radio, the kit usually includes an android head unit CAN bus decoder box to keep those messages alive, and that box needs a flat space, not a fold.
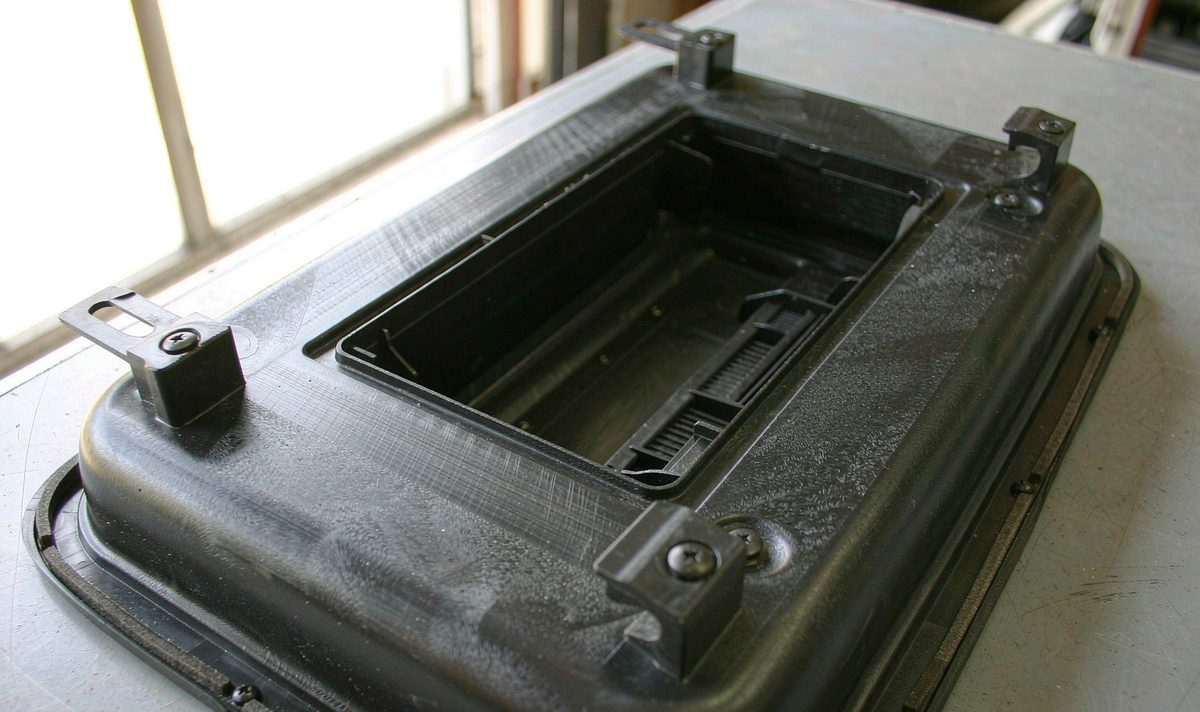
Do this unplugged, with the panel loose. You'll need a torch. Ten minutes now saves a refund argument.
Press the bare panel into your dash until the clips click. Look along the seam at eye level. A high corner here is a moulding or seating issue, not a screw issue.
Slide the unit onto its brackets and check your bezel sits flush inside the opening, not proud of it. Move the brackets, not the panel.
Run the screws down in a cross pattern, gently, then walk the four corners with the card. If a corner lifts as you tighten, stop: the boss is bottoming out.
If the panel passes all three and the seam still isn't even, the part is wrong for your dash. That's ten useful minutes: you've proved it before cutting a wire. Awkward news, but cheaper than a return.
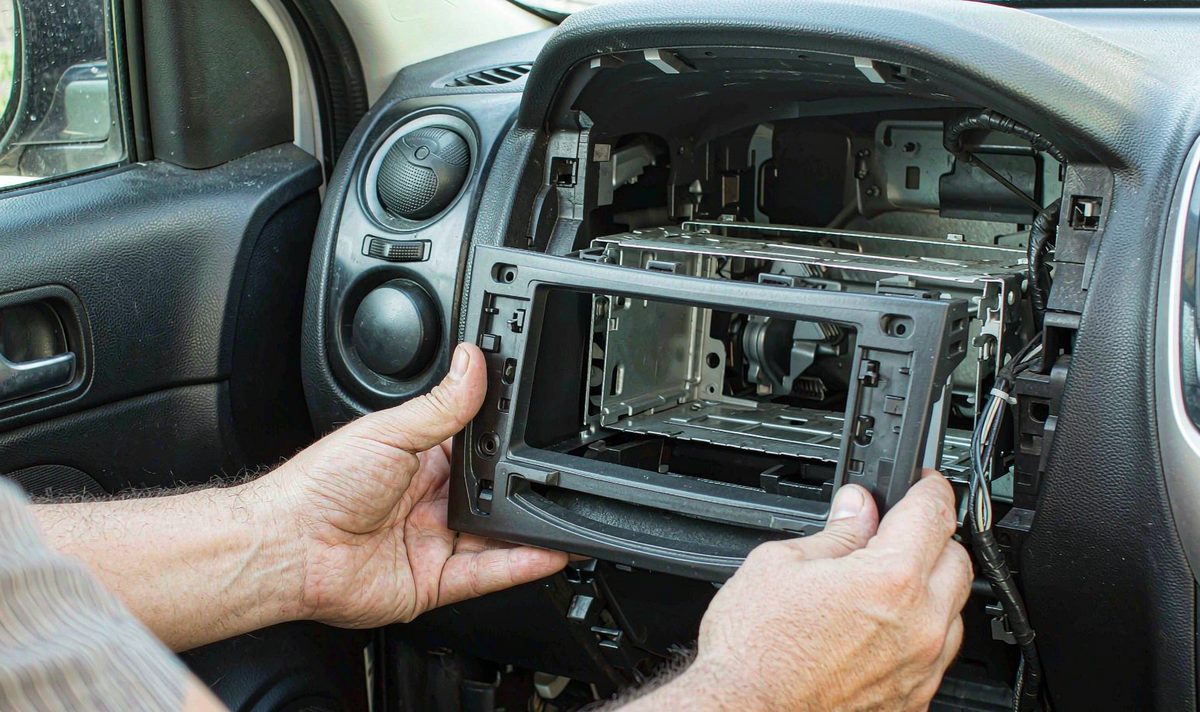
Only now is buying sensible. Order by trim level and part number rather than a year range on a listing, because a range spanning eight years almost always spans two dashboards. Send us three things with your enquiry: a square-on photo of the aperture, the shape of your climate panel, and whether your car is left or right-hand drive. That last one matters more than you'd expect, because some kits are handed: the trim strip beside the instrument cluster can differ between the two builds of the same model.
Two material questions matter. Is your panel moulded in colour or painted? A painted panel looks sharper on the bench and crazes after a few summers, since a dash top in sun gets hot enough to soften general-purpose ABS. You'll spot it at the top edge first. And is it ABS or PC-ABS? The blend holds its shape better in heat.
Refuse one thing: a trim-to-fit universal panel you cut yourself, unless nothing else exists for your car. You'd be shaping the one edge the job is judged on, with a knife, by eye.
If you're fitting a double din android head unit dash kit into an older car, your kit usually includes the panel, brackets, pocket blank and harness adapter. In our experience the panel is the part worth checking in photos before you pay. That's the common mistake in most retrofit android head unit for older car projects: the electronics are fine and the plastic is from the wrong variant. Start with our universal one and two DIN range if you're working from a standard cage.
Send us a photo of your aperture and your climate panel, and the WITSON team will tell you which frame variant your dashboard was built with.
Only if the gap is between the screen bezel and the panel opening. A ring sits in front of the panel and covers that inner line, and does nothing for a seam between the panel and the dashboard. Check which one you're looking at: if the card slides between the panel's outer edge and the dash, a ring won't help.
Pull the radio, photograph the aperture square-on, then photograph your climate panel. A seller who knows the range will recognise the difference.
Sometimes, when the new unit's chassis matches the factory cage and the opening is already the size you need. Worth trying before you buy a kit, because the factory panel fits by definition. The limit is depth and bezel shape: if the screen face stands proud of the factory opening, no bracket adjustment will sink it.
Heat and fasteners. A screw tightened into a plastic boss with no insert relaxes as the dash cycles through summer afternoons, and a panel with a low heat deflection point creeps out of shape. Look at whether the boss is stripped before blaming the moulding.